Places to Go

Saturday, February 19, 2011

Adventures in a Foreign Land


     Yesterday, I went to Chinatown with PN. It was to be a short, simple grocery shopping trip for me: pick up some veggies and some Asian condiments (as I was woefully lacking in anything I need to make the Asian foods I crave). Somehow, I ended up with four bags full of food. I got hoisin sauce, soy sauce, and oyster sauce. I got cauliflower and scallions and bok choy. I got pho noodles and rice cakes, panko bread crumbs, and lychees... I went a little crazy.
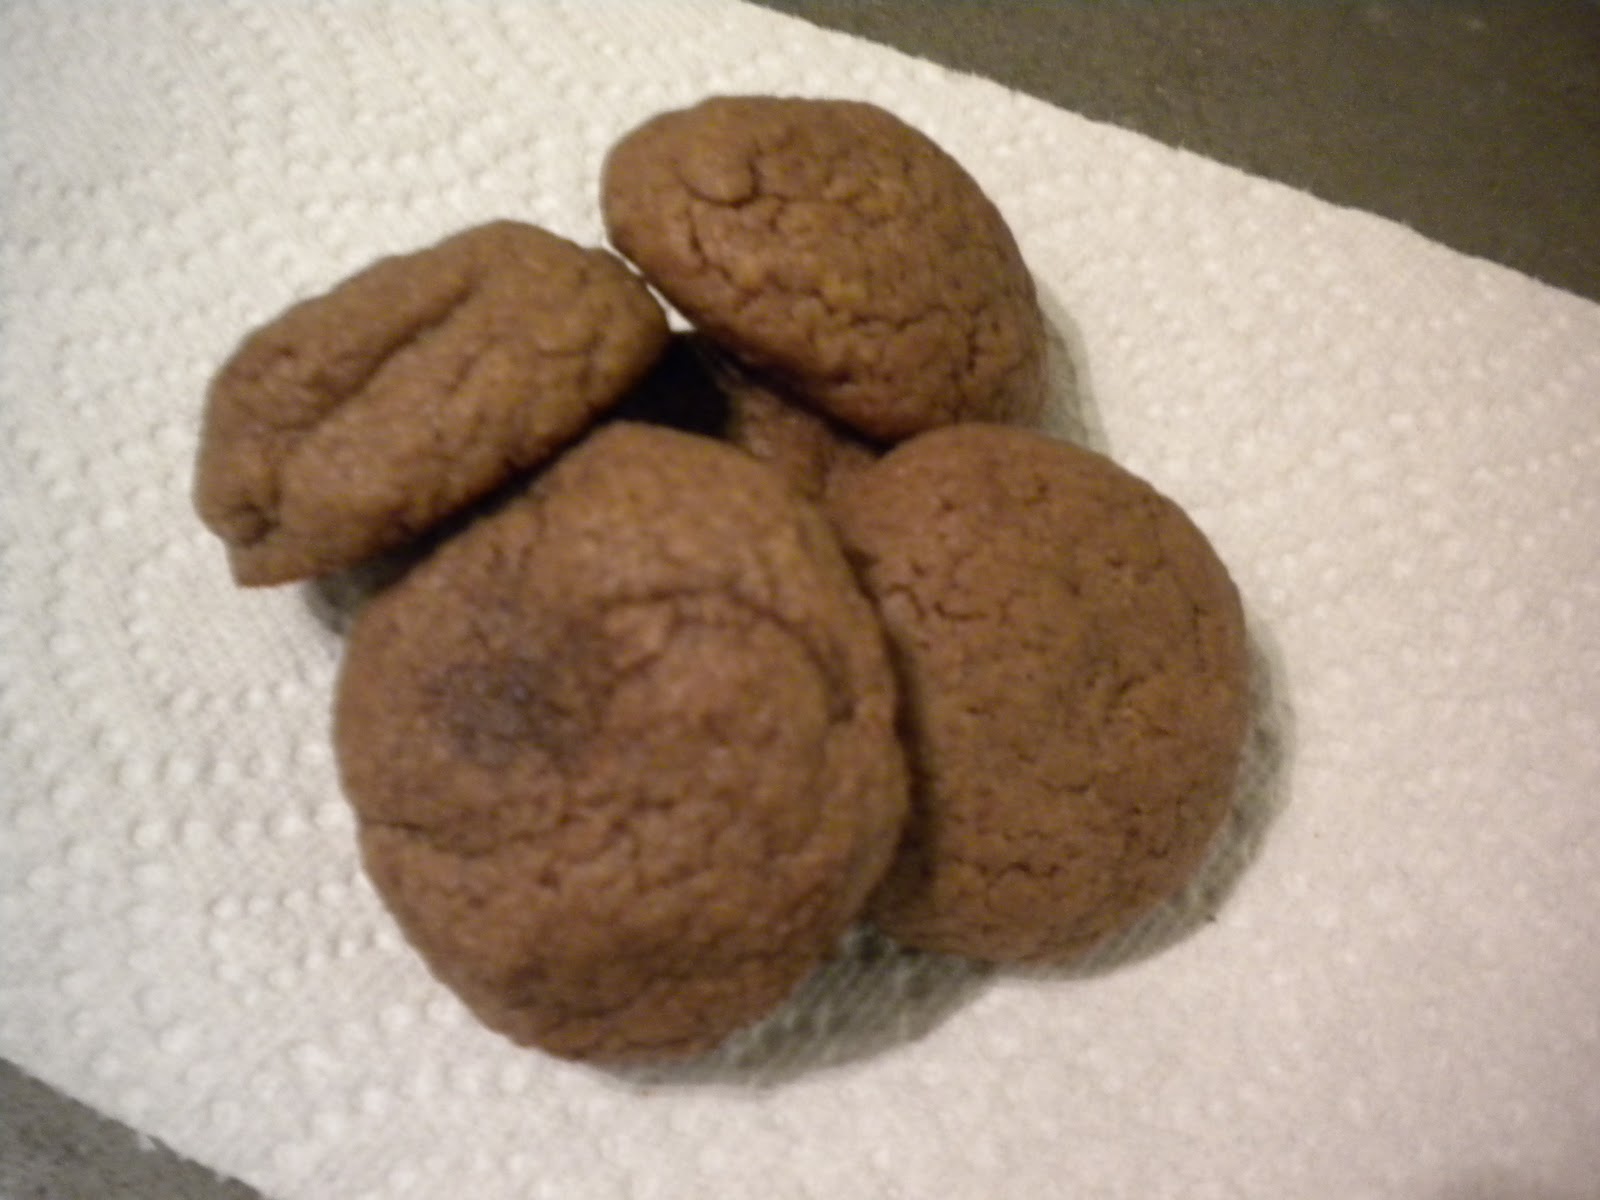
Post-ravagement.
     But, that's not even the best part of this story. At this Chinese supermarket, no one seems to speak English. Especially the butchers. So, we stood in front of the meat counter, trying to stare through foggy glass at cuts of meat labelled in Chinese. It doesn't help that neither of us has paid much attention to our mothers' purchases of different meats in the past. This is how it went:

PN: Do you think those are pork chops?
Me: They seem like the right shape?
PN: Which one do you think is the butt?
Me: I think that one might be, because the butt is bigger than the shoulder, right? What do you think that is?
PN: I think that's the shoulder!
Me: Oh good! I want one.

     And so forth. After jumping up and down and saying Excuse Me at varying volumes to get the attention of the butchers, PN was brave first and bought two of the pork chops through ingenious use of pointing. I went next and did the same for a pork shoulder. Then she bought half a pound of something highly intriguing. They looked like ribs, except were cut even smaller than normal riblets, and some of the pieces didn't even have any bone (See picture above). I bought half a pound too.


     Back at home, I got tired of googling for potential recipes. I knew I wanted to marinate these pork bits in my newly bought sauces, but I didn't know what else to do. So, I did what any good cook does in times of trouble: I called my mom. From her, I got this simple procedure for cooking my baby ribs to perfection. They are tiny and delectable, I can easily see them playing the role of an appetizer at a party. But, regardless of what they can be, the sticky sweet and tangy marinade on the melting pieces of meat was irresistible. While "watching" them cool, I tried one, and then another, and then another. The next time I looked, half of the riblets were gone. Sometimes, you cannot wait to take pictures before you eat.


     Today, I wanted these riblets to be part of a real meal. So, I made rice, stir fried some bok choy, and here we are. A perfect Asian meal, using almost all the ingredients I bought yesterday. That, gives me a very satisfactory feeling indeed. To match the satisfied feeling in my stomach from warm rice, garlicky, crunch bok choy, and sweet savory pork. Just a note: these pork bits (if you use these to cook and not regular ribs, which you could also use in this recipe, if you just doubled the marinade), anyway: they have plenty of fatty bits and little bones. So, keep a napkin and potentially a bowl for bones around while you eat. Point being, it doesn't matter because they are just so good.


Hoisin-Honey Glazed Pork Riblets 

1/2 lb Pork Riblets 
1 tsp Sugar 
2 tbsp Hoisin Sauce 
1 tbsp Soy Sauce 
2 1/2 tbsp Honey 
1/2 tbsp Oyster Sauce 
2 tsp Salt 
1 tsp Black Pepper 
1/2 tbsp Vegetable Oil 

Prep For Pork: 

Fill a large bowl with water, 1 tsp of sugar, and 1 tsp of Salt. Submerge meat in it to brine. 

Marinade: 

Meanwhile, mix the hoisin sauce, oyster sauce, honey, and soy sauce in a medium bowl. Set aside. 

Cooking Pork: 

After 10-15 minutes of brining (these pieces of meat are so small you barely need to brine them at all), pour the water out of the bowl. Pat the meat dry with a paper towel. Then, dry rub with the black pepper and remaining teaspoon of salt. Lay the meat out on a cutting board (or something) so it dries completely. Once it is dry, heat the oil in a large pan. Sear the meat in the pan, browning it on both sides. Take the meat out of the pan. After letting it cool for a minute, put it in the marinade. Mix so each portion is coated thoroughly. Leave the mixture for half an hour (or longer for even better results). Then, pre-heat the oven to 400 degrees. Spread the marinated pork on a baking sheet, and place inside the oven. It will only take 5-10 minutes to cook if you use the small size riblets I did. Regular riblets or ribs would probably take 10-15 minutes, just keep an eye out.  

Note:

Since all my marinade didn't get soaked into the pork, I just poured it back onto the pork once I took the slightly cooled pork off the baking sheet and placed it in a bowl. 

Garlicky Bok Choy 
Adapted from Steamy Kitchen

1 Bok Choy 
1 Small Garlic Clove (or 1/2 of a larger one), Minced 
1/8 tsp Ginger Powder 
1/2 tbsp Vegetable Oil 
1 tbsp Water

Prep for Bok Choy: 

Trim the bok choy by cutting off the very bottom of the stem (the thickest part). Then, pull part the different segments. Keep the little baby bok choy in the center intact. Rinse all the segments lightly under water to clean, then drain. 

Cooking Bok Choy: 

Place the oil, garlic, and ginger in a cold wok or large frying pan. Heat them all up together at medium heat. When the garlic is sizzling and golden, add the bok choy. Toss the segments in the oil till they are all completely coated with garlicky oil. Then, pour in the water, and immediately cover the pan. Let it cook for 1 minute, and then take out and serve.

Note:

I only made one bok choy because I just wanted it for lunch today. But, if you are cooking for a crowd or just want to eat more veggies, the Steamy Kitchen link has the proportions for cooking 1 lb of bok choy. 

Friday, February 18, 2011

Part II: Packaging More Care

It was 1 am. I needed to do something exciting.
     I mailed my care package, wrapped within an inch of its life in packaging tape and bursting at its seams with tupperware boxes, to CV today. What was it filled with? Peanut Butter Banana Bread, of course, and cookies. You may ask, what cookies? Well, this was actually a very tough call. I couldn't send something too chocolatey, because those don't always travel well in the mail. I couldn't send something shortbread-y because that is what I had sent to CV last time. And, as usual, I was constrained by the ingredients I had on hand when I made these cookies at 1 am last night.  


     So, what did I do? I searched through my cupboards. And what did I find? Nutella. That food of the gods. Dreamy chocolate hazelnut spread that I'm sure you've tried on bread as part of your balanced breakfast. Very few things in the world sound better than Nutella Cookies. And that is how Nutella Cookies ended up in CV's package.

Food of the Gods.
     It's amazing how many Nutella recipes there actually exist online. There are Nutella Chocolate Chip Cookies and Nutella Hazelnut Cookies and Nutella Peanut Butter Cookies...but there is a strange lack of plain - which is just the wrong word to describe it - Nutella cookies. After much googling and searching I found one. It was perfect: ridiculously easy to throw together, using scandalously few ingredients, and not trying to mar the taste of Nutella with any extra frippery. (Not, that frippery is always a bad thing - I'm planning on making Nutella Chocolate Chip cookies soon, but at 1 am frippery can be frustrating.)


     I highly suggest you bake these cookies. They take absolutely no time, require nothing fancy, and only use 3 1/2 tablespoons of Nutella, so you will have plenty left for your regular Nutella eating - this is always a top priority consideration when one is contemplating cooking with Nutella. I constrained myself and only ate one of these cookies, as I wanted at least fifteen to send off to Canada. Less than fifteen cookies is just no gift at all, don't you think? It just doesn't look imposing enough. Regardless, I had to put the cookies away pretty fast after I tried one. It was the flavor of Nutella with the texture of a soft cookie. Need I say more? For when it arrives or for when you make it yourself, I suggest eating it warmed up slightly in the microwave. My mouth waters just at the thought. Do yourself a favor, make these cookies.

Nutella Cookies 
Adapted from The Diary of a Frugal Family 

Makes 15-20 Cookies

3 1/2 tbsp Nutella 
1/4 cup and 2 tbsp Sugar (i.e. 3 oz)
3 1/2 tbsp Butter, Melted  
1 Egg 
1 cup Flour 

Pre-heat the oven to 350 degrees. Butter two baking sheets, and set aside. In a large bowl, mix the Nutella, sugar, and butter. Then, add the egg and flour and stir until thoroughly mixed. Next, scoop slightly less than a tablespoon of dough in a tablespoon measure and roll into a ball. Place the balls so there are about eight on a baking sheet. Bake for 10 to 15 minutes until the cookies look firm. Cool the cookies on the baking sheet on top of a wire rack for five minutes, then transfer to a wire rack to cool completely. Repeat until dough is finished.

Note:

I just realized the original recipe called for Self-Rising flour, and I used regular All-Purpose Flour without adding anything to it. This is why I got soft cookies that did not spread very much but were thick. If you like thin, chewier cookies, you can use the same amount of flour plus 1 1/4 tsp Baking Powder and 1/8 tsp Salt. I would only have 7 cookies on a baking sheet then because the cookies will spread out a lot more. So many possibilities! 

Thursday, February 17, 2011

Packaging Care


     I have this most amazing friend CV. But, whenever I talk to him, he is stressed and in the library and swamped with work. It makes me want to give him a hug, except that he goes to school in Canada, which is a long way for even a telepathic hug to travel. So, instead, I send him food. Last semester, I sent him off some banana bread and cookies. This semester, I thought I would do the same. Loaf cakes and cookies are foods that travel very well. But, one mustn't be repetitive. What new kind of well-travel-able cake can I make? The answer came to me in my usual obsessive perusing of different food blogs. Joy the Baker had posted the perfect recipe: Peanut Butter Banana Bread.


     On being polled, my friend agreed that Peanut Butter Banana Bread was indeed what he wanted. And so, I bought peanut butter and bananas today. It was the kind of day where I had work and class and then an hour and then work, and now I'm here. It was the kind of day where I went grocery shopping for peanut butter and bananas right before my work at night, realized I didn't have enough time to return home, and brought my peanut butter and bananas to work. Needless to say, I had a peanut butter and banana snack (read: a lot of peanut butter with a banana) while working. There are perks to being a food blogger and buying small streams of groceries. And, I love peanut butter.


     Banana bread is really just an amazing food. You can add chocolate (I had to), you can add peanut butter (Joy the Baker or whoever first thought of it is a genius), berries...I'm sure you could add almost anything to banana bread and it would come out delicious. You can also subtract, if you don't have brown sugar, or yogurt, or flax meal for example - Joy's recipe called for it, I simply looked the other way and substituted when I could. Whole milk for yogurt was an easy substitution to make. I still have to use up that gallon of whole milk, sigh.

"Taste testing" the banana bread
     Banana bread is also ridiculously easy. Its a one or two bowl, one or two spoons operation at the most. And it comes out so moist, and homey, and fragrant, and delicious every time. This banana bread was no different. While warm, it was soft, with melty chocolate, and hints of cinnamon and spice, and then that almost salty peanut buttery taste flowing through it all. It was delicious. My friend PN who taste tested it with me does not like the butt of a cake, so she got a middle piece which she says was very soft and fluffy. I ate the butt, and it was crunchy and delicious. Just right for a midnight snack.


Peanut Butter Banana Bread 
Adapted from Joy the Baker Adapted from Cooking Light 

1 Loaf Pan
1 1/2 cup All-Purpose Flour
3/4 tsp Baking Soda 
1/2 tsp Salt 
1/2 tsp Ground Cinnamon
1/8 tsp Allspice 
3 Ripe Bananas, Mashed (if they are not so so ripe: microwave them for a little and then mash them)
1/4 cup Milk  
1/3 cup Peanut Butter (I used Extra Crunchy to get peanut bits, Joy used Creamy. Go wild) 
3 tbsp Butter, Melted
2 large Eggs 
1 cup Sugar 
1/4 cup Chocolate Chips (I had a Hershey's bar so I crumbled it up and used that...Ya) 

Place a rack in the center of the oven and pre-heat to 350 degrees. Grease and flour a 9 by 5 in loaf pan and set aside.

In a large bowl, whisk the flour, baking soda, salt, ground cinnamon, and ground allspice together. In a medium bowl, whisk the mashed bananas, milk, peanut butter, and melted butter together. Then, whisk in the eggs and sugar. Mix until there are no sugar lumps. Next, pour this wet mixture into the large bowl with the dry ingredients. Fold everything together with a wooden spoon until well mixed. Then, add the chocolate chips. Pour batter into the loaf pan and bake the cake for 55 to 65 minutes, until a skewer inserted into the center of the loaf comes out clean.

Remove the pan from the oven when done. On a wire rack, cool the bread in the pan for ten minutes. Then, run a knife along the edges of the pan, and invert the bread onto a wire rack to cool completely. 

Wednesday, February 16, 2011

The Most Comfortable Foods

Because you need comforting foods on dark dark nights. And the moon is beautiful. 
     I have a philosophy. It is that, in cooking, nothing can go wrong. You probably don't agree. You are probably looking at me like I'm crazy. Because you're thinking, of course things go wrong when you cook! You could not add enough of something or add too much of something and now you're left with a mess instead of something delicious. Well, to clarify, I'm not saying that everything always turns out absolutely mouth water-ingly delicious. But, I think you can end up with good, satisfying food nine out of ten times that you cook. This is probably why, whenever I read a recipe for something I want to make yet don't have all the ingredients for, I just substitute away until I can make it out of things in my pantry. And if I have things I want to use that aren't called for in a recipe, I just throw them in. If you always do this within reason, knowing what flavors tend to taste good together, things really will be all right.

My dinner: An experiment in substitutions     


     This is a good philosophy to have when you sometimes buy ingredients you don't know what to do with. For example, when you end up up buying an entire gallon of whole milk because you were not thinking. Somehow, my mental notes that I needed three cups of whole milk for chocolate pudding and that I was out of milk for my oatmeal and cereal eating got muddled in my mind. Ah well. So, what could I use whole milk for? Mac and Cheese! But, I didn't have the other -perhaps you would think absolutely necessary- components for Mac and Cheese: cheddar cheese (which everyone says is the best for this purpose) and elbow macaroni. 

     So, maybe its not a traditional Mac and Cheese. But, it is penne pasta baked in a creamy mozzarella sauce with chicken and topped with cheese. That is comfort food enough for me. And, it was easy enough to make, bake, and admire in the hour between my lab and work. Yay! The saddest thing though was that I didn't have time to eat any of it before I left for work. And, though it was creamy, and the chicken moist, and the top crunchy and golden when I finally got to eat it, I missed out on that bubbly just-out-of-the-oven cheesiness. That and the remaining cups of whole milk mean there might be a less healthy Mac and Cheese coming up shortly. Still, I now have one, filling, not-too-unhealthy, protein-inclusive (I have to say it, its making me feel better that my dinner consisted of delicious oozing cheese and pasta) Mac and Cheese that-bakes-up-to-make-a-good-dinner-and-lunch-for-the-next-day recipe in my repertoire. And that can never be a bad thing.

And...this is how much was left after my dinner....I was hungry OK. 
Baked Macaroni and Cheese with Chicken
Very Loosely Adapted from Southern Living 

Serves 2 (Double Recipe for a Square Pan if you are a normal person who doesn't only cook in loaf pans. This will allow you to save it up for more than two meals or share it with someone! Hurrah) 

1 cup Penne Pasta (or Elbow Macaroni) 
1 piece Chicken Thigh 
1 cup Milk (not skim) 
1 tbsp Butter
1 tbsp Flour
1/4 tsp Salt 
1/8 tsp Black Pepper 
10 oz Shredded Mozzarella Cheese (or Sharp Cheddar, which is more traditional)

Pre-heat oven to 400 degrees. Then, lightly grease your loaf or square pan. Next, boil the water for the penne pasta and cook it. Set the pasta aside. Also, trim the excess fat from the chicken thigh and cut it into bite-sized (approximately 1 inch) cubes.

For the sauce, first microwave the milk for 1 minute. Meanwhile, melt the butter in a saucepan over medium heat. Then, whisk in the flour until smooth and cook, while whisking constantly, for 1 minute. Gradually whisk in the warm milk and cook the mixture for five minutes while whisking constantly, until it has thickened. Next, whisk in the salt, pepper, and 8 oz (1 cup) of the cheese. Spoon in the cooked pasta and raw chicken cubes. Pour the pasta, chicken, and sauce into the pan. Top with the remaining cheese. Bake for twenty minutes, or until it is golden and bubbly. 

Tuesday, February 15, 2011

In Which I Made Something Delicious Entirely By Accident

Hurrah for food that is so easy to arrange beautifully!
     Yesterday was a long day. I already told everybody that. But, what I didn't tell you, was that after making chocolate pudding and posting (Right before midnight!), I then went on to make more food. Its alway great to get ahead! I decided to cook, and it was already midnight, and I was thinking it would be a really late night. This just proves I shouldn't think so hard. It took me a grand total of ten minutes to cook my food for today!

     I bought pork chops about a week ago and froze them. On polling my friend BJG, I found that he agreed with me: having covered the bases of chicken, veggies, and desserts, it was time to try something new. However, I had never cooked pork chops before. I was scared. I took them out of the freezer to defrost, and then did some googling. Everyone seem to fry pork chops! But I didn't have those thick pork chops on the bone, I had thin boneless pork chops. Really thin, like 1/2 inch. What easy thing can I do with such pork chops? Bake them. What does one need to bake meat? A marinade!

Notice the dreamy lighting...its a heavenly marinade.
     I love making up marinades. My philosophy is if you make a sauce that tastes really good, it will taste good in meat too. So, I mixed up some honey, ginger, and soy sauce. Can you believe it? It was as simple as that. Then, I dumped my defrosted pork chops in it and let them soak up for a bit, and then I baked them. How long did that take? Seven minutes. I felt as though I needed to do something more, and I also had a lot of leftover marinade. So, I cooked it down into a delicious, sweet, jammy glaze. 


     And, that is how I ended up with beautiful pork chops covered in delicious glaze at 1 am last night. Of course, I was far too full of Chocolate Pudding to eat any pork chops, so what did I do with them? Lunch for today! A delicious sandwich of bread, a little butter, pork chops spread with glaze, and baby spinach. I had the best lunch ever today. The glaze was sweet, the pork chops moist and perfectly cooked, and there was the lovely bitter crunch of the spinach to offset it all. Arugula would be nice too, if you don't have baby spinach (my baby spinach is done by the way! So, no more baby spinach in my recipes for a while). But, if you have only ten minutes to spare, buy some thin pork chops and keep them in the freezer. They defrost in no time, you will be able to cook them up in minutes, and they will be utterly delicious for sandwiches, to chop up and put in fried rice or with noodles, or in a salad. 


Glazed Pork Chops 

Serves 1 (To marinate more pork chops simply increase the amount of marinade in proportion) 

For the Marinade and Pork Chops: 

3 pieces Thin, Boneless, Pork Chops 
2 tbsp Honey 
1 tbsp Soy Sauce
1/4 tsp Ginger Powder 

Pre-heat the oven to 350 degrees. In a medium bowl, mix the honey, soy sauce, and ginger powder. Place (defrosted) pork chops in the bowl and turn until thoroughly covered in marinade. After a few minutes, place on a buttered baking sheet and place in the oven. If your pork chops are 1/2 in thick, it will take 7 minutes. For 3/4 inch, 8-11 minutes. Just keep an eye on them so they don't overcook. 

For the Glaze 

Marinade 
1/4 cup Water 
1 clove Garlic, Minced 

Pour the marinade into a saucepan. Stir in the garlic and the water. At high heat, boil off the water while stirring the marinade. After a few minutes, you will be left with thick, jammy glaze. (It might take up to five minutes depending on how high your heat is.)

Notes:

I spread the glaze on the pork chops, and you could serve them like that with rice and some vegetables. You could also slice the pork chops after topping them with the glaze and then throw them into salad or fried rice. If you want to make a sandwich, all you need is some greens because the glaze means you don't need any other spread (other than a little butter) on the bread. 

Monday, February 14, 2011

Be My Valentine

     Hi everyone, its Valentine's Day! Actually, its almost the end of Valentine's Day because I had a rather long day. Physics quiz, awful chemistry midterm...sounds romantic right? Its OK. There was also the group of singers dressed in suits who came into my physics class to sing a most melodious Valentine serenade to a blushing girl, and the bunch of girls dressed all in pink standing outside the library reciting Shakespeare's sonnets. Yay for lovely randomness! I treated myself with lovely things of my own by making myself Challah French toast for breakfast.

Beautific Breakfast: French Toast and Tea 
     So, here's to starting and ending a day really well! For my Valentine's Day dessert (of course, it has to be dessert), I am making chocolate pudding. Not just any Chocolate Pudding, but Smitten Kitchen's Silky Chocolate Pudding. I do realize this is the second one of her recipes that I'm making within a week. But, she is just so great! And, I did not come upon this recipe just because I was randomly browsing her blog, as I tend to do. A friend of mine confided to me that he was oven-less but wanted to make a chocolate dessert. So, what could I do but take it up as a challenge? After some googling, I realized the perfect recipe was right under my nose at my favorite food blog. Hurrah for Smitten Kitchen saving the day with not only a stovetop recipe, but a perfect Valentine's Day recipe as well.

Chocolate Soup: Before all the chocolate was mixed in, hence milkyness
           Chocolate pudding is an absolute cinch to make. (Did I really just say cinch?) It does have some finicky sounding things though: a double boiler, cornstarch. Firstly, cornstarch: once you buy it, you have it for so many recipes! Its great for thickening sauces like flour, its also good for thickening soups because it doesn't have flour's... floury taste, and so many desserts call for it! Forgive my gushing. But, its wonderful and versatile and it gives everything the silkiest smoothest texture that only it can. And, to my questioning friend, yes it is widely available in grocery stores in India - according to an expert (my mom). As to the double boiler, when I think double boiler, I think metal bowl over a sauce pan. All you need is a bowl that fits into the top of the saucepan nicely, so it stays still. But, lo and behold, at college I have no metal bowls! Hence this:
Wok over saucepan anyone?
     Yes, I cooked my pudding in a wok placed over a saucepan. Hey, anything goes in love, war, and cooking pudding. The pudding was delicious. I mean, its chocolate pudding. Warm chocolate pudding, thick and creamy and full of deep chocolatey flavor, and of course, so beautifully silky because of the Cornstarch. I wish I could share it with all of you, because you are just the best in the whole wide world. Thank you so much for reading my little blog and giving it 500 whole views! Can you believe it? Thank you to all my friends and family for spreading the word and being so very kind to me. Thank you thank you thank you and all my love, Happy Valentine's Day!


Silky Chocolate Pudding 
Adapted from Smitten Kitchen who adapted from John Scharffenberger 

Serves 6 

1/4 cup Cornstarch 
1/2 cup Sugar 
1/8 tsp Salt 
3 cups Whole Milk
3/4 cup or 6 oz Semisweet Chocolate (I just used regular semisweet chocolate chips) 
Sprinkling of Cinnamon (optional) 
1 tsp Vanilla

     In a metal bowl (or wok, or top of a double boiler), mix the cornstarch, sugar, and salt. Slowly whisk in the milk, scraping the bottom and the sides to incorporate the dry ingredients. Place saucepan (or bottom of double boiler) filled with an inch of water on the stove and heat the water till it is gently simmering. Then, place the bowl with the ingredients over the saucepan. Stirring occasionally and pushing out lumps if they form, cook the mixture for 15 to 20 minutes until the mixture begins to thicken and coats the back of the spoon. Then, add the chocolate. (I also added a dash of cinnamon here, just to give that Mexican Chocolate flavor, do as you please.) Continue stirring for about five minutes, or until the pudding is smooth and has thickened. Then, remove from heat and stir in the vanilla. Spoon into bowls, and serve! Or, refrigerate for thirty minutes and serve cold pudding, if you want.

Notes: 

 - If the mixture has been heating for twenty minutes, you have added the chocolate, and it still doesn't seem thick at All just add a little more cornstarch (a tablespoon perhaps), and then stir a little more. It looks milky for a long time and then it thickens up really quickly once you are done cooking / take it off the heat, so don't worry too much.

- You can pour the pudding through a fine sieve to take out the lumps, but there's generally not many lumps that you can't get out with the back of the spoon. Needless to say, I did no sieving.

- If you don't like pudding skin (the congealing on top), when you refrigerate the pudding smooth the plastic wrap onto the surface of the pudding, no pudding skin will form. Of course, thats if you have any left to refrigerate.


Sunday, February 13, 2011

A Quick Fix


     Sometimes, you do not have the time. It is not a Saturday to leisurely watch Challah dough rise. It is not a Wednesday night without work to bake cookies. No, it is a Sunday. The Sunday before the first chemistry exam of the semester no less. And on such a Sunday, there is no time. So, breakfast and lunch got by on Challah bread and Veggie Curry respectively. They were delicious and comforting to the less-than-happy Chemistry studier. But, now its dinner time. What's a dinner I can make in ridiculously little time and yet still feel happy blogging about? It was an easy question to answer: Soy Sauce Chicken.


     This is not my recipe. It comes to me from my friend SZ who got it from her mom. Arriving at SZ's apartment in NYC late one night after the two hour bus-ride from Philly, I was starving. She put this dish together in no time flat, and it was amazing. Filling, warming, healthy, and with all the necessary ingredients for a good meal: chicken, veggies, Flavor. I have been wanting to replicate it ever since I got home. 

     Of course, I'm probably going to be committing blasphemy when I put this dish together. Unlike SZ, I do not have fresh ginger root on hand. I also don't remember the exact proportions, or even ingredients she used. I do remember: 1 part soy sauce to 2 parts water (and I didn't even stick with that...) But that was as good a starting point as any. I hope she and her mom forgive my changes, they are done with an eye to what is in my fridge and pantry, not because I didn't love the original. Now, to wing it!


     I started with the basics: soy sauce, water, ginger, garlic, onions, and the piece of chicken. Then, I realized I had a lot of soy sauce and water, and a very small piece of chicken. I was already bemoaning the lack of mushrooms, which SZ had put in the dish, to soak up some liquids. Then I remembered! Udon noodles in the fridge. And, that is how my dinner came to be. It was filling, the chicken was moist and delicious, and the udon noodles had soaked up the gingery-soy saucy flavor. I did miss those mushrooms though, add them if you make this dish! They take it above and beyond. Still, I now feel full and prepared to tackle thermodynamics in all its varied forms.


Soy Sauce Chicken

Serves 1 (To multiply simply add more chicken thighs and the other ingredients in proportion to how much chicken you have. If you are not using an entire packet of udon, you could probably fit another chicken thigh in the amount of liquid I have given and be absolutely fine; I had a lot of sauce left over after my dinner.)  

1 Chicken Thigh
1/4 cup Soy Sauce 
3/4 cup Water 
1 tbsp Sugar 
1/2 tsp Lemon Juice
1/2 Onion, Finely Chopped
1/4 tsp Ginger Powder
1 clove Garlic, Minced    
1/2 cup Baby Spinach 
1 packet Udon Noodles (optional) 
1 cup Mushrooms, sliced (optional; recommended) 

In a small saucepan set to medium heat, add and mix the the soy sauce, water, sugar, lemon juice, onion, ginger powder, and garlic. Trim the excess fat off of the chicken thigh, and place it in the mixture. (You do not have to cut the thigh into pieces.) Simmer the mixture and chicken for fifteen minutes, turning the chicken once in a while if it is not fully covered in liquid. Then, add the udon noodles and/or mushrooms (if using). Stir in, and simmer mixture for another fifteen minutes. Serve!