I love fall and pumpkins. I love how they are both orange. Orange is such a warm color, such a crisp and crunchy leaf color but also a soft sweet potato color...or a soft woolen sweater color. I kind of want an orange sweater. A big comfy one. Anyhows....Orange is pumpkins and pumpkins are fall, so of course I had to make something pumpkin-y.


But not just anything in general pumpkin-y. Pumpkin Chocolate Chip Cookies specifically. Because they were blogged about on Slow Like Honey. Because they looked so delicious and cake-like, and I do love soft cookies. In fact, I think almost all the cookies I make are the soft and chewy kind.....the kind that are almost falling apart when they come out of the oven and melt in your mouth when you gobble them up off the cookie sheet and burn your tongue. The kind that stay all springy and tender after they cool down so that you constantly crave one...Yes. That kind of cookie.

And so, in the barely two days while she was visiting me, I planned to make these cookies with KK. But....then we ran out of time. It was a tragedy. I didn't think I would be able to find any time to make these cookies. I was sad. Still, you know this story ends well because there are cookies. Why are there cookies? Because, I was saved by a source who is as yet a mystery to you.


That sentence was convoluted. But it sounded kind of like an old detective show. Or the parodies of old detective shows that they do on Whose Line....do you know what I'm talking about? If not, you should watch more Whose Line.

Aaaanyhow, I was saved by my mentee! My little sister in a Big Brother Big Sister like program you know. Because fourth grade girls like to make cookies. And I like to make cookies too. So its a bonding thing. And we all got delicious cookies out of it. Delicious slightly spicy cinnamony pumpkiny full of chocolatey goodness cookies. The moral of the story is: even when you think you can't make cookies you should find time - or a friendly helper - who will make you make cookies. Because life before these cookies was missing out on pumpkiny goodness, and we all need that sometimes.

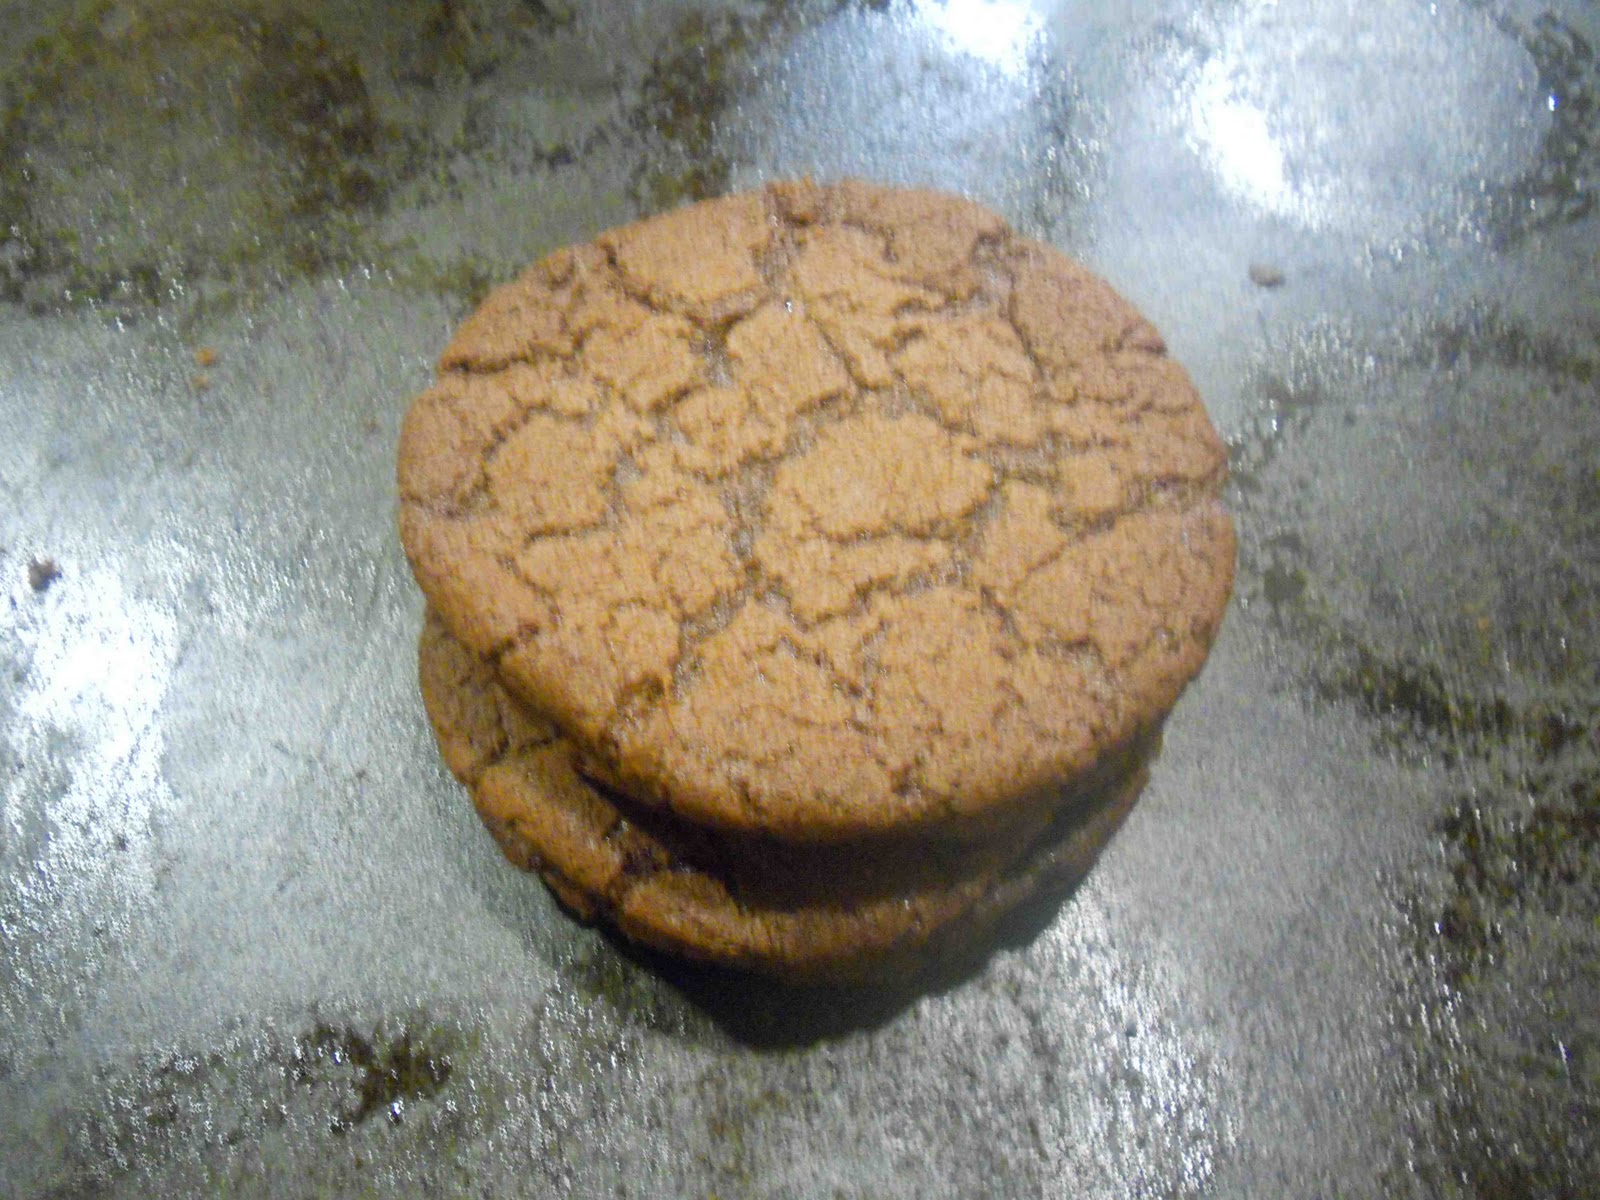
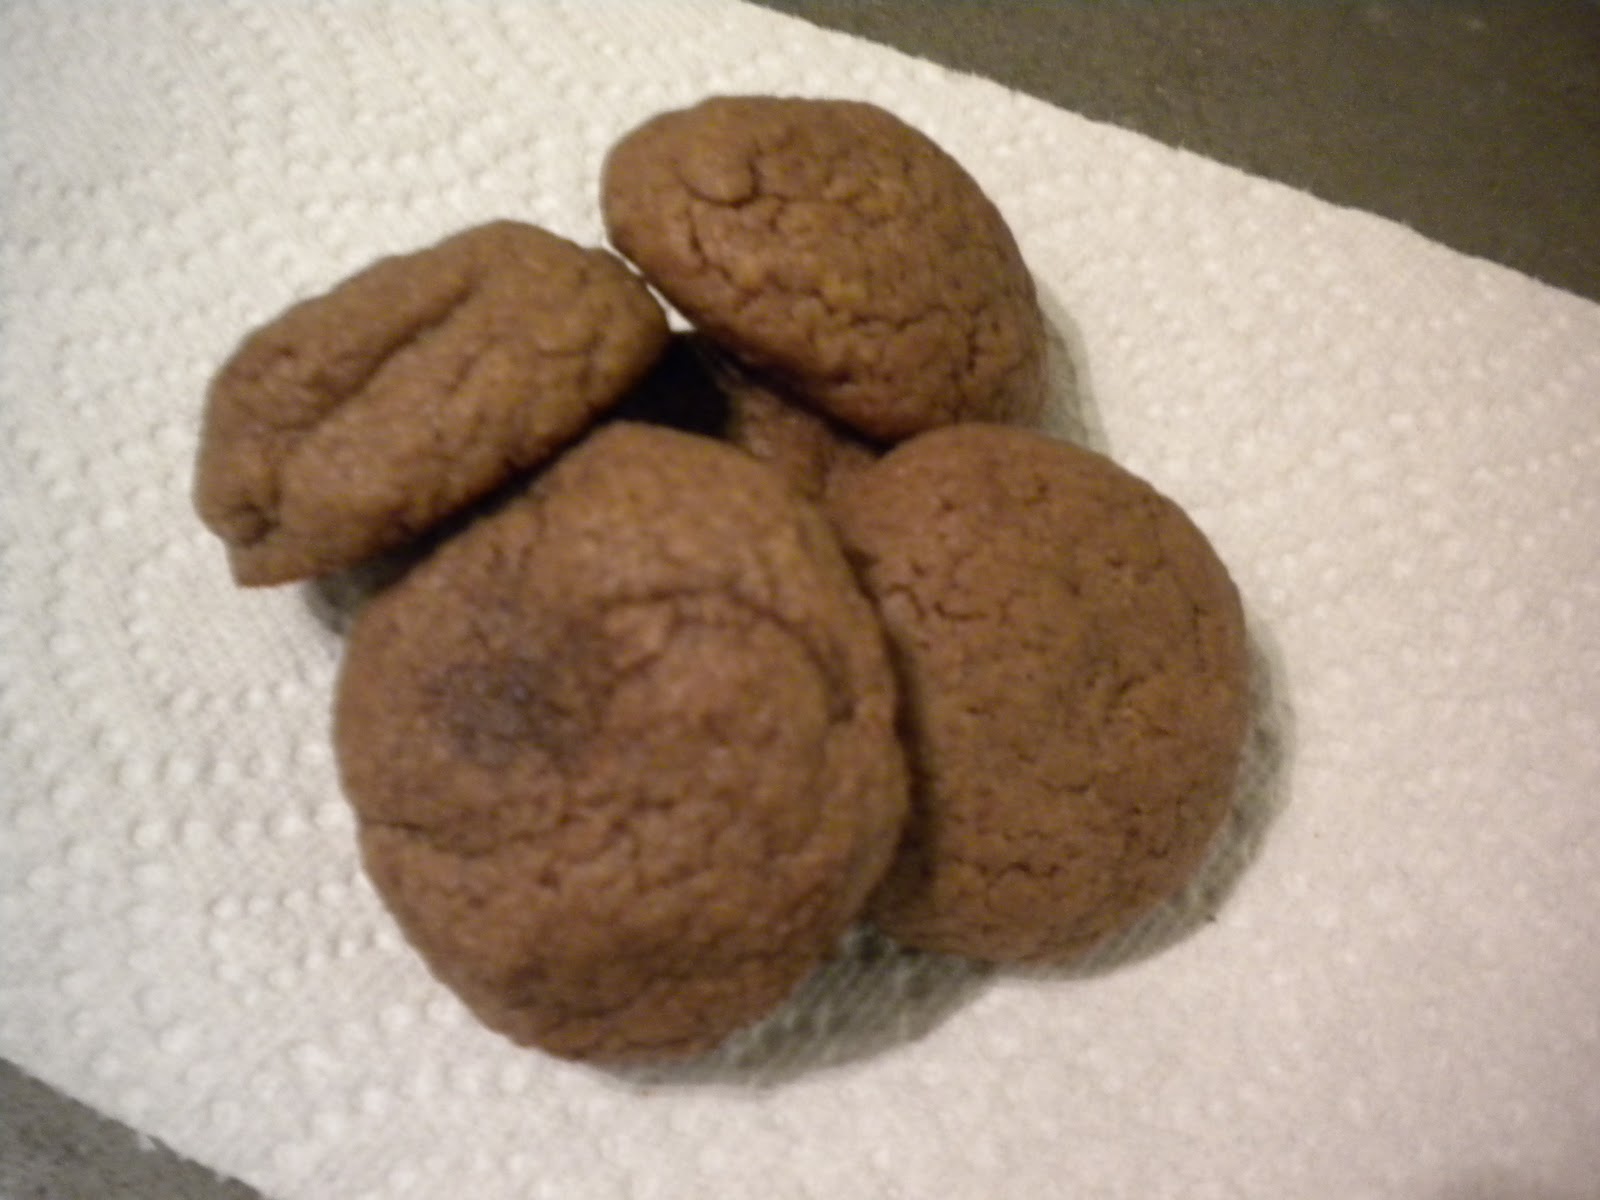
Pumpkin Chocolate Chip Cookies
Adapted from Slow Like Honey
Yields 20 Cookies
1 cup Canned Pumpkin
1 cup Granulated Sugar
1/2 cup Vegetable Oil
1 Egg
2 cups All-Purpose Flour
2 tsp Baking Powder
2 tsp Ground Cinnamon
1/2 tsp Salt
1 tsp Milk
1 tsp Baking Soda
1/2 tbsp Vanilla Extract
2 cups Semisweet Chocolate Chips
Pre-heat the oven to 350 degrees and layer parchment paper on two baking sheets (I had to use the two, then do another batch once one came out, so maybe take out a third cookie sheet if you feel so inclined?).
In a large bowl, stir together the canned pumpkin, sugar, vegetable oil, and egg. In a separate large bowl, whisk together the flour, baking powder, ground cinnamon, and salt. Dissolve the baking soda in the milk in a little bowl, and stir it into the dry ingredients. Add the dry ingredients to the pumpkin mixture, and stir with a wooden spoon until everything is combined (make sure you get all the flour that drops to the bottom of the bowl!). Stir in the vanilla and then the chocolate chips.
Use a tablespoon measure to spoon the batter out onto the baking sheets, it is a sticky, gooey batter so an extra spoon is also helpful. Make sure you leave about 1.5'' of space around the cookies because they will spread.
Bake for 10-12 minutes at 350 degrees, until they are firm to touch and lightly browned. Let them cool on the baking sheet for ten minutes, then transfer them to a wire rack.
Try to stop yourself from eating them all at once! They will technically last 5 days in an airtight container. But good luck.